Integrating your WooCommerce store with Klaviyo can unlock opportunities to enhance your email and SMS marketing efforts, allowing you to run automated targeted campaigns and boost sales.
But, how to integrate Klaviyo with WooCommerce, and are there any technical complexities involved? Well, afraid not, this comprehensive guide will walk you through the step-by-step process of Klaviyo integration with WooCommerce, ensuring a seamless connection that empowers your marketing.
Preparation Before Integration
It is important to have the prerequisites ready for proper Klaviyo integration with WooCommerce:
-
Have active Klaviyo and WooCommerce accounts: Ensure you have existing accounts with both platforms. If you have multiple Klaviyo accounts, log out of any you don't intend to integrate with WooCommerce.
-
Access to your WooCommerce/Klaviyo admin dashboard: You’ll need admin access for both dashboards to install, activate plugins and configure settings.
-
Disable caching and redirect plugins (recommended): Temporarily disable redirect plugins during the setup process. You can enable them after the integration is complete.
-
Ensure your WooCommerce store uses HTTPS: Klaviyo requires your WooCommerce store URL to use HTTPS and have a valid SSL certificate.
-
Check system requirements: Ensure your WordPress version is 5.0 or higher and your PHP version is 7.4 or higher.
Installing the Klaviyo Extension in WooCommerce
The first step of Klaviyo integration with WooCommerce is to install the official Klaviyo for WooCommerce extension on your WordPress site. Here’s how to do it:
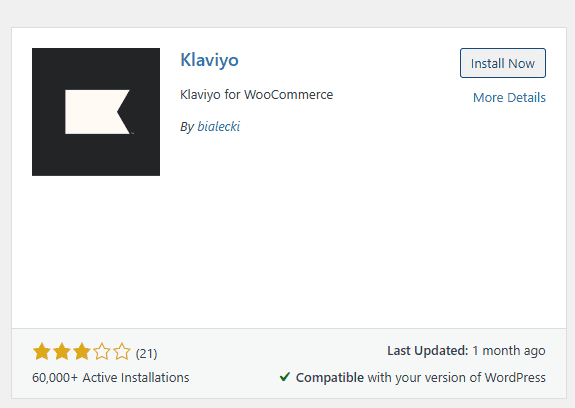
- Install Klaviyo Plugin: In your WooCommerce admin dashboard, go to Plugins in the left-hand navigation menu and click Add New. Search for Klaviyo in the search bar. You should see “Klaviyo for WooCommerce” in the search results. Click the Install Now button next to it.
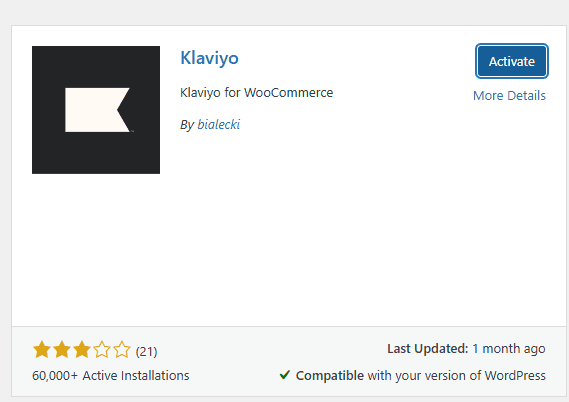
- Activate the plugin: Once the plugin is installed, click Activate to enable the Klaviyo extension.
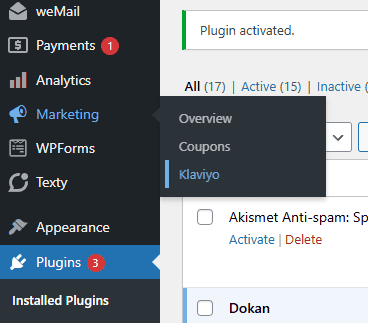
- Access Klaviyo settings: After activation, you can find the Klaviyo settings by navigating to Marketing in the left-hand navigation and then clicking on Klaviyo.
Connecting Your Klaviyo Account
With the Klaviyo extension active, the next step is to link it to your Klaviyo account.
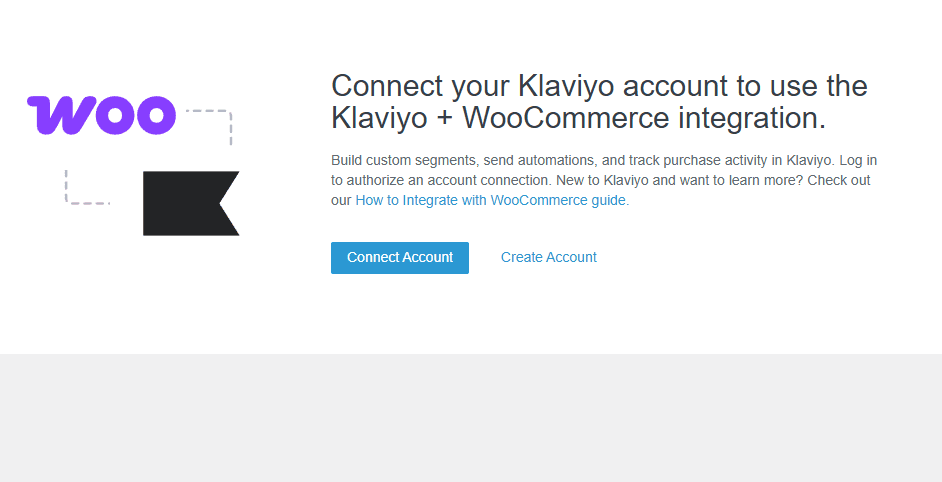
- Click Connect Account in the Klaviyo settings page in your WooCommerce admin.
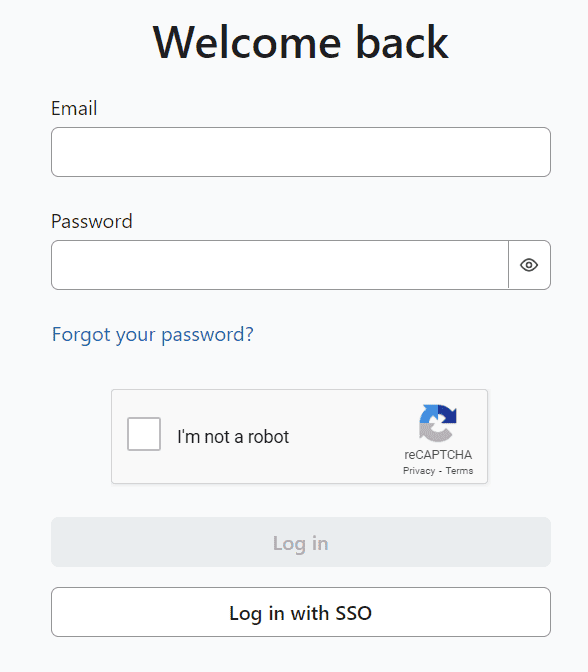
- Log in to the Klaviyo account.
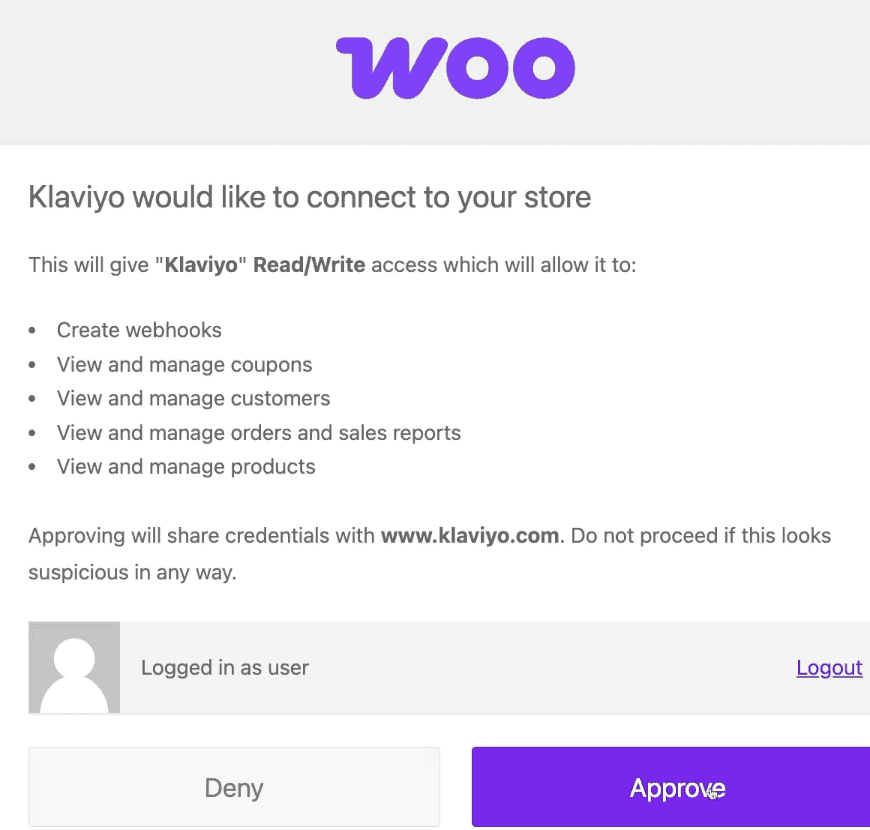
- Grant approval to the connection prompt.
- Confirm account name: On the integration settings page that follows, verify that the displayed Klaviyo account name is correct.
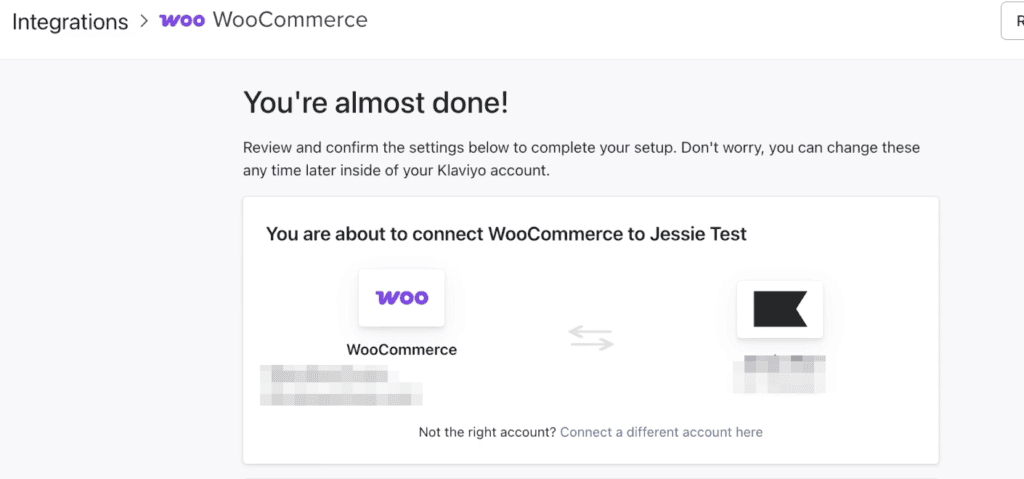
Once you’ve approved the permissions, your WooCommerce account is now connected to Klaviyo.
Configuring Integration Settings
After successfully connecting your accounts, you can configure various settings to tailor the integration to your needs. These options allow you to control how data is synced and enable key features:
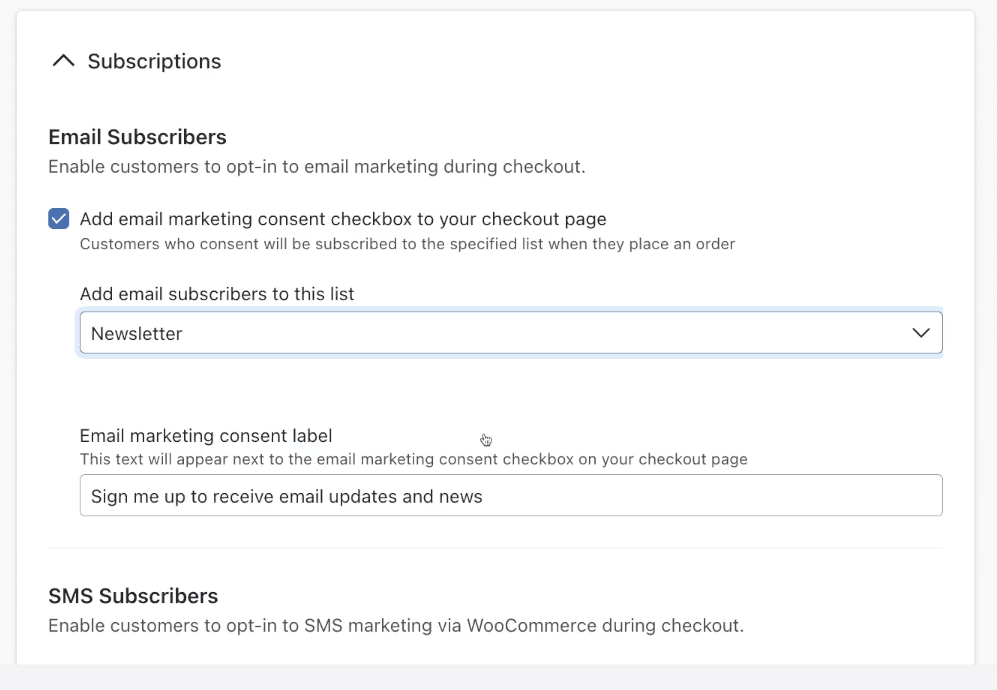
- Add email marketing consent checkbox to your checkout page: Check this box to automatically add an email marketing consent to your checkout page. Use the Add email subscribers to this list dropdown to choose the list where customers who opt-in during checkout will be added. If you haven’t created a list yet, you’ll need to do so in your Klaviyo account under the Lists & Segments tab.
-
Email marketing consent label: Customize the text that appears next to the email consent checkbox using the Email marketing consent label field. The default is Sign me up to receive Email updates and news.
-
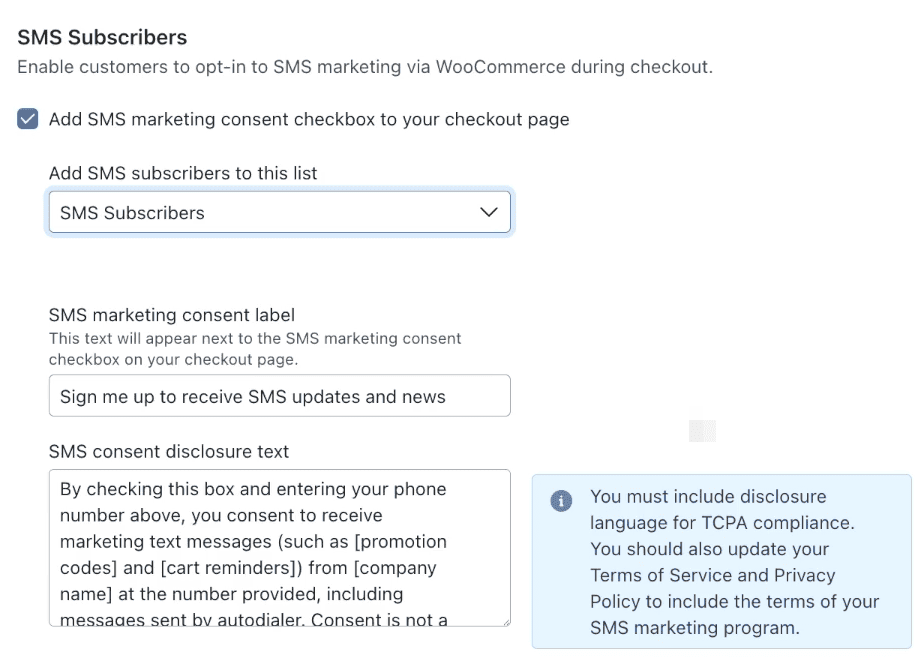
Add SMS marketing consent checkbox to your checkout page: If you want to collect SMS subscribers, check this box. Note that SMS consent will not sync if your company is age-gated.
-
Select a list: Choose the list for SMS subscribers from the Add SMS subscribers to this list dropdown. Consent is sent after the customer clicks submit order and the order is created in WooCommerce.
-
SMS marketing consent label: Enter the text you want to display next to the SMS consent checkbox.
-
SMS consent disclosure text: Provide the required TCPA compliance text. You can use the Klaviyo default or add your own.
-
Convert all currencies to one standard currency
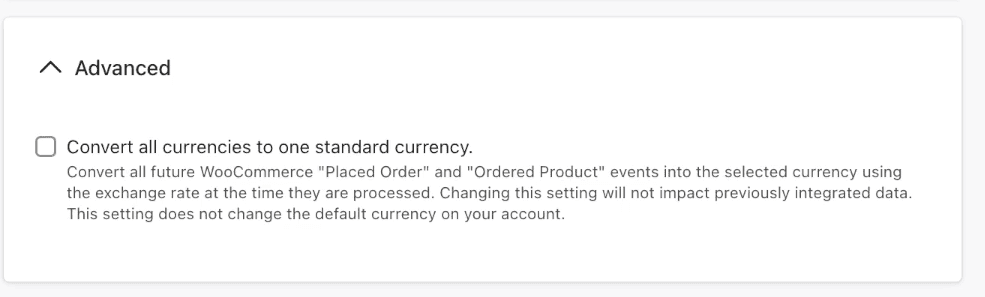
Check this box and select your desired currency. This will not affect previously integrated data and doesn't change your default Klaviyo account currency. Once you are satisfied with your settings, click the Complete setup button.
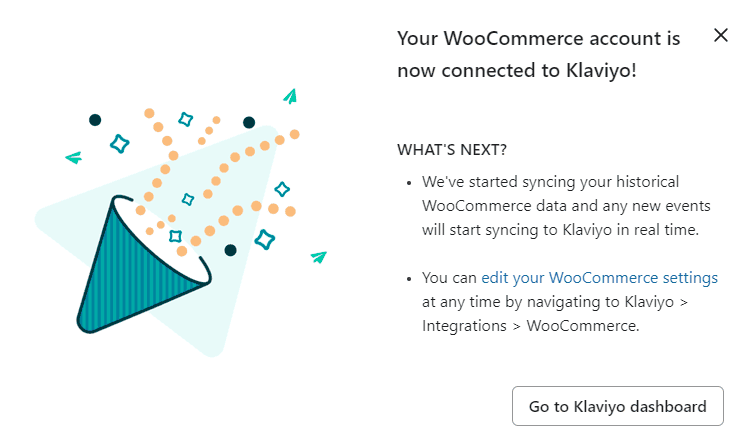
You can always go back and edit these settings by navigating to the Integrations tab in Klaviyo and selecting WooCommerce.
Testing the Integration
After configuring the settings, it’s essential to test your WooCommerce integration to ensure data is being synced correctly. Here’s how you can do it:
- Enter the email in the popup - For any pop ups you have created, enter your email address to check if your sign up form is collecting emails.
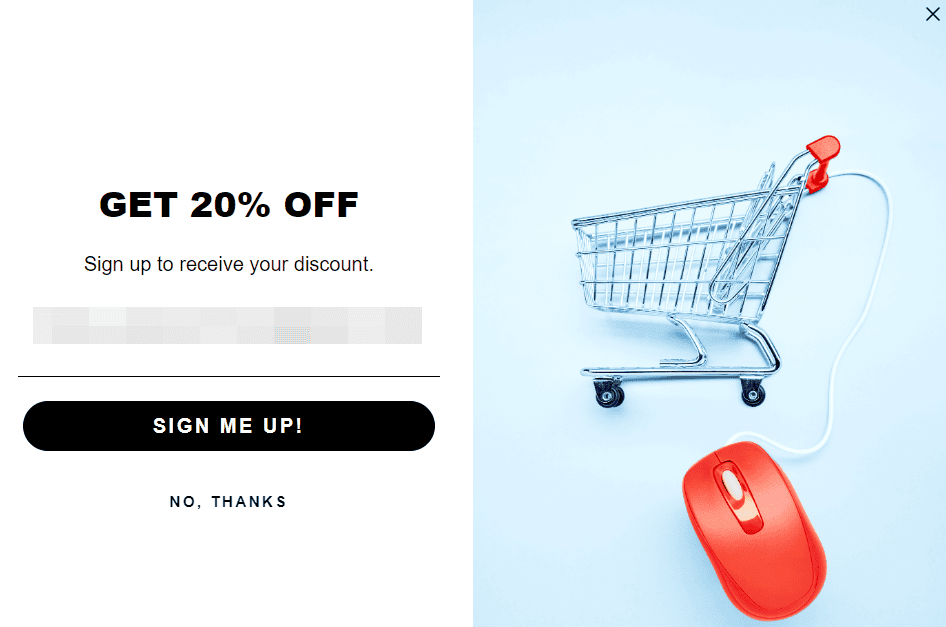
- Click the Sign me Up! Button and head back to your Klaviyo account to see if the email address is captured.
Post-Integration Troubleshooting Steps
Now that the connection is established, here are a few debugging tips to ensure you can troubleshoot while encountering errors:
- Unable to Access the Orders API
If you encounter an error message like "Unable to access the Orders AP. Please check connection settings and try again," it indicates an issue with the connection within WooCommerce that needs to be resolved.
To resolve this issue, reset the API call to the order count endpoint to find out the information that is passed on to Klaviyo regarding orders.
You can use the following cURL request and change the STORE_URL, CONSUMER_KEY, and CONSUMER_SECRET with your store’s address and WooCommerce login ID and password. This will resolve the issue.
curl https://STORE_URL/wp-json/wc/v3/orders \-u CONSUMER_KEY:CONSUMER_SECRET
It’s 2025, and not having an SSL certificate on your ecommerce website is a surefire way of getting penalized by Google. Klaviyo only integrates with HTTPS, which means you should have a valid SSL certificate.
You can always get in touch with Levamo’s expert team to help you with SSL installation on your website.
- To Avoid Functionality Disruptions, You May Need to Disable the Following Plugins: Plugin Name(s)
When you receive this error, it means that one of the plugins installed in WordPress has malfunctioned, which is causing integration problems with Klaviyo. You will also see the plugin name that you can temporarily deactivate or uninstall and reinstall once the problem is resolved.
Mostly these are either caching or redirection plugins.
The Best of Both Worlds
Klaviyo integration with WooCommerce store is a straightforward process that opens up a world of possibilities for your e-commerce marketing. Regularly test your integration and explore the various features offered by both platforms to maximize your marketing ROI.
To get the best of your site’s surge traffic during sale seasons, it is time to migrate to Levamo for world-class fully Managed Hosting for WordPress.
Frequently Asked Questions
Does WooCommerce have a CRM?
WooCommerce is flexible in integrating with various marketing and tech stack tools, but does not have an in-built CRM.
Does Klaviyo integrate with WooCommerce?
Yes, Klaviyo integrates seamlessly with WooCommerce.
Can I integrate Klaviyo with WordPress?
If a plugin can integrate well with WooCommerce, it can also do so with WordPress. You need not necessarily have a WooCommerce site to use Klaviyo, as you can integrate it on your blog to run email and SMS marketing campaigns.
How do I integrate Klaviyo with my website?
Install the Klaviyo for WooCommerce extension, connect your Klaviyo account and configure the desired integration options.
You first need to create the form in your Klaviyo dashboard under Sign-up forms. Then, get the embed code for the form and paste it into your WordPress site's HTML. It is better to use the Klaviyo for WooCommerce plugin to help manage and display these forms.