You changed the default "admin" username. You picked a 20-character password with symbols and numbers. You feel pretty good about it.
Here's the problem: passwords alone stopped being enough a long time ago.
Credential stuffing attacks don't guess your password. They use passwords stolen from other breaches and try them across thousands of WordPress sites automatically. Phishing pages trick even security-conscious users into handing over credentials. And let's be honest, most teams have at least one person reusing the same password across multiple services.
Your WordPress login page is public by default. Every bot on the internet knows where to find it. So the question isn't whether your password is strong. It's what happens when someone gets past it.
This guide covers the practical layers you can add on top of strong passwords to make your WordPress login page genuinely hard to break into.
Why Strong Passwords Aren't Enough Anymore
Let's be clear: you absolutely need strong, unique passwords. That's not up for debate. But treating passwords as your only line of defense is like locking your front door and leaving every window wide open.
Three things have changed the threat landscape:
Credential stuffing is automated and massive. Attackers take username/password pairs leaked from breaches at other companies and run them against WordPress login pages at scale. According to the OWASP Foundation, credential stuffing is one of the most common attack vectors against web applications. If any team member reuses a password that appeared in a breach, your site is exposed.
Phishing has gotten smarter. Modern phishing pages look identical to legitimate login screens. Even users who know better can get tricked by a well-crafted email pointing to a convincing fake. Once someone enters their credentials on a phishing page, the password's strength is irrelevant.
Team-based access multiplies risk. A solo blogger controls one set of credentials. A WooCommerce store with five administrators, three editors, and a freelance developer has nine potential entry points. One weak link compromises the entire site.
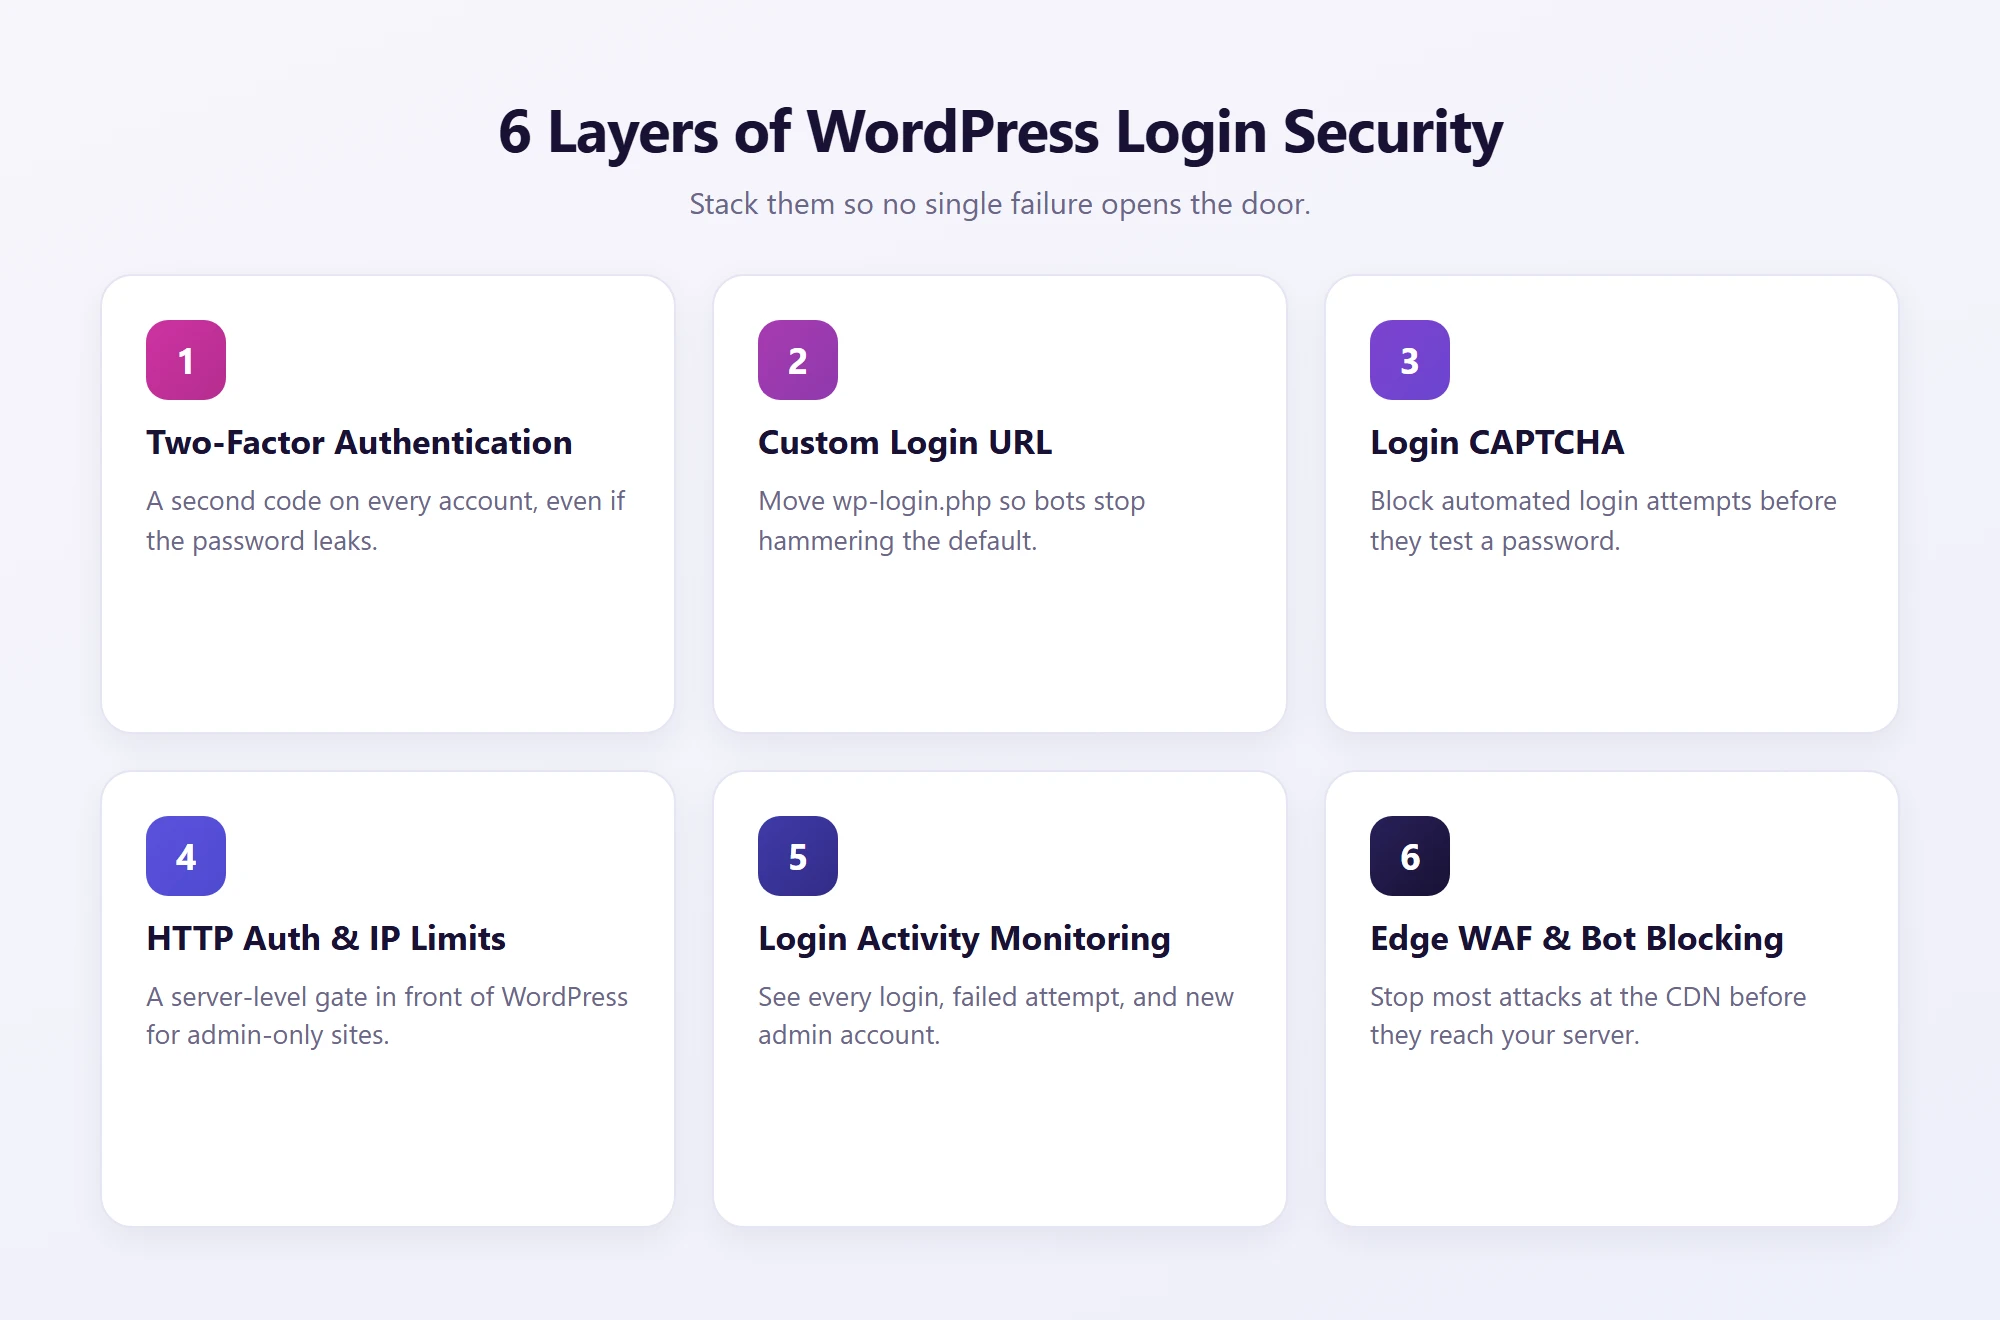
The fix? Layer your defenses. No single measure is bulletproof, but stacking multiple protections makes unauthorized access exponentially harder.
Add Two-Factor Authentication to WordPress
If you only do one thing from this entire guide, make it this.
Two-factor authentication (2FA) adds a second verification step after the password. Even if an attacker has valid credentials, they can't log in without access to the second factor (usually a six-digit code from an authenticator app on your phone).
Authenticator apps over SMS. Always choose app-based 2FA (Google Authenticator, Authy, or Microsoft Authenticator) over SMS codes. SIM-swapping attacks can intercept text messages, making SMS-based 2FA significantly less secure.
Recommended 2FA Plugins
For your WordPress site itself, several plugins handle 2FA well:
WP 2FA is purpose-built for two-factor authentication and supports authenticator apps, email codes, and backup codes. It also lets you set grace periods, so users aren't locked out the moment you enable 2FA.
Wordfence Login Security is a free, lightweight module from the Wordfence team. It supports TOTP-based authenticator apps and recovery codes without requiring the full Wordfence firewall plugin.
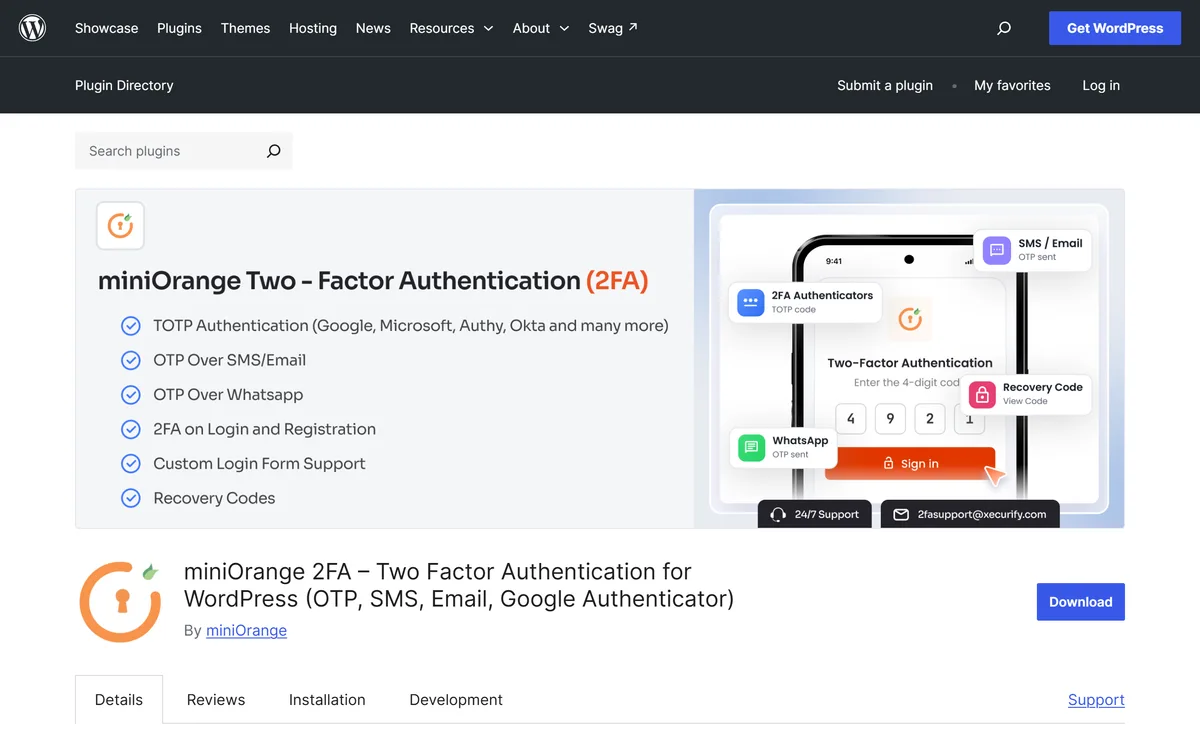
miniOrange supports authenticator apps, push notifications, security questions, and hardware tokens. It's a good pick if your team needs flexibility in how they authenticate.
All three are free for basic use and take under five minutes to set up.
What About Your Hosting Dashboard?
Your hosting dashboard is just as critical as your WordPress login. If someone compromises your hosting account, they can access your database, files, and backups directly.
Levamo's dashboard supports authenticator-app 2FA with backup codes for recovery. It's TOTP-based (the same standard used by Google and Microsoft), so it works with any authenticator app you already use.
Enforce 2FA Across Your Entire Team
Here's where most sites fall short. The admin enables 2FA for their own account and calls it done. Meanwhile, the editor with shop_manager access is still logging in with just a password.
Every account with backend access is an entry point. If your store manager, content editor, or freelance developer skips 2FA, that's an unlocked door into your site.
What to look for in a 2FA plugin:
Role-based enforcement (require 2FA for administrators and editors, optional for subscribers)
Grace periods that give users time to set up 2FA before being locked out
Backup code generation for account recovery
On the hosting side, Levamo's team admin enforcement lets account owners require 2FA for every team member on the hosting dashboard. No exceptions, no "I'll set it up later." If a team member hasn't enabled 2FA, the admin can see it on the team visibility dashboard and follow up. This matters especially for agencies managing multiple client sites from a single hosting account.
Change Your Default Login URL
Every WordPress site uses /wp-admin/ and /wp-login.php by default. Every bot knows this. Changing your login URL doesn't make your site unhackable, but it does eliminate a huge volume of automated traffic hitting your login page.
Think of it as removing your house number from the mailbox. A determined attacker will still find you, but the casual ones move on.
WPS Hide Login is the most popular plugin for this. It's lightweight, requires zero configuration beyond choosing a new URL, and doesn't modify any core files.
Pick something memorable but not obvious. Avoid patterns like /login, /admin-login, or /secret-admin because those are on every bot's dictionary list too.
Important: Bookmark your new login URL and share it with your team. If you forget it, you can disable the plugin via FTP or your hosting file manager to restore the default URL.
For a deeper look at how login URL changes fit into a broader brute force defense strategy, check out our guide to brute force protection.
CAPTCHAs add a challenge that's easy for humans and hard for bots. Placing one on your login page blocks automated login attempts before they even test a password.
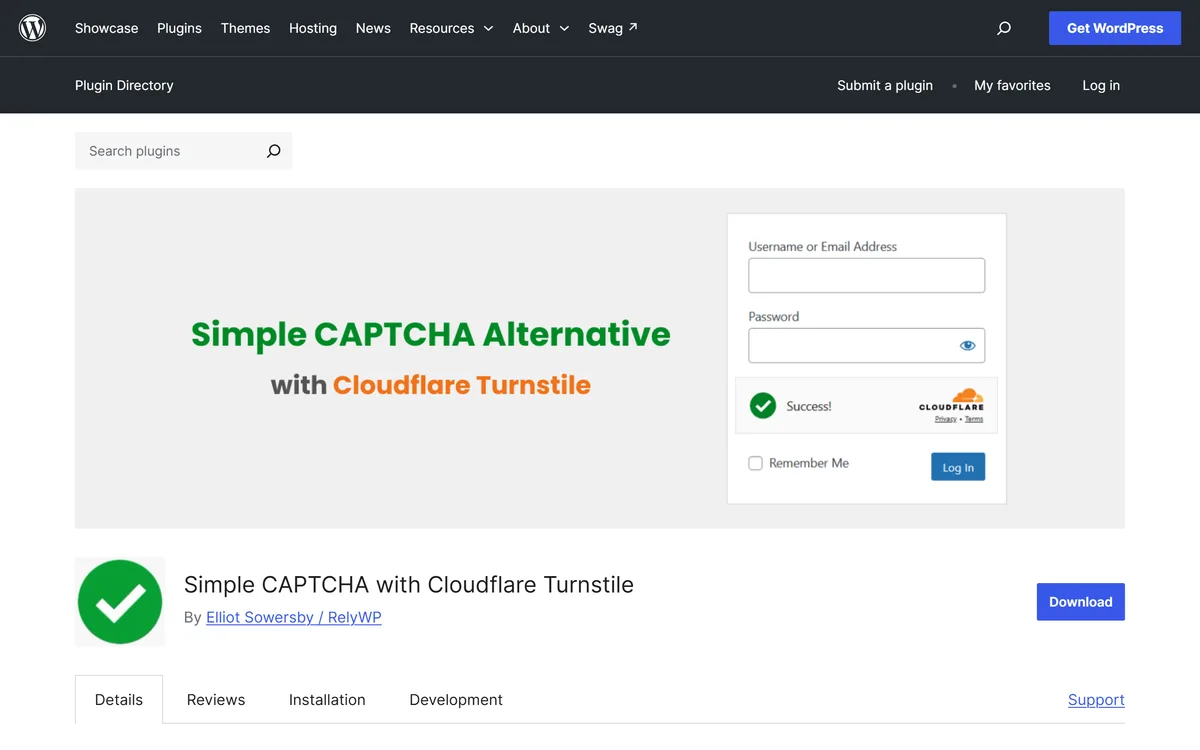
Cloudflare Turnstile is the modern choice. It's free, privacy-focused, and often invisible to real users (no clicking fire hydrants). It verifies visitors in the background and only shows a challenge when something looks suspicious. Plugins like Simple Cloudflare Turnstile make integration straightforward.
Google reCAPTCHA v3 works similarly, scoring visitors in the background and only challenging suspicious ones. Several security plugins bundle reCAPTCHA support, so you may already have access to it.
Place CAPTCHAs on your login page, registration page, and password reset form. Attackers target all three.
Use HTTP Authentication as a Second Gate
This one's more technical, but it's extremely effective. HTTP authentication (sometimes called .htpasswd protection) adds a server-level username/password prompt before WordPress even loads.
Bots hitting your login page get a 401 Unauthorized response without triggering any PHP processing. This means zero server load from automated attacks, which is a significant benefit for resource-heavy sites like WooCommerce stores or membership platforms.
Your hosting control panel or file manager can usually set this up. You're adding a server-level credential check in front of wp-login.php, so attackers need to pass two authentication layers: the HTTP prompt and then the WordPress login form.
Trade-off: This adds friction for legitimate users, so it's best suited for sites where only a small internal team needs backend access. If you have hundreds of members logging in through a frontend form, this approach doesn't apply.
Restrict Login Access by IP
If your team works from fixed locations (an office, a co-working space, or even consistent home IPs), you can restrict login page access to only those IP addresses.
This is done through .htaccess rules or your hosting's IP restriction tools. Anyone connecting from an unauthorized IP gets blocked before the login page even loads.
<Files wp-login.php>
    Order Deny,Allow
    Deny from all
    Allow from 203.0.113.50
    Allow from 198.51.100.25
</Files>
When this works well: Small teams with stable IPs, internal company sites, staging environments.
When it doesn't work: Remote teams with dynamic IPs, membership sites with user-facing logins, WooCommerce stores where customers access their accounts.
For most dynamic WordPress sites, the other measures in this guide are more practical. But for admin-only login pages on internal tools, IP restriction is nearly airtight.
Monitor Login Activity
You can't protect what you can't see. Login activity monitoring shows you who's logging in, when, from where, and whether there have been failed attempts.
WP Activity Log records every login, logout, failed attempt, and session change. It also tracks user role changes and plugin activations, so you get a complete audit trail. For WooCommerce stores, it logs product and order changes too.
What to watch for:
Multiple failed login attempts from the same IP (brute force in progress)
Successful logins from unfamiliar locations or IP addresses
Logins at unusual hours for your team
New administrator accounts you didn't create
Set up email alerts for critical events (new admin accounts, successful logins from new IPs) so you don't have to check the log manually.
What Your Hosting Should Handle for You
Everything above happens at the WordPress level. But the most effective login protections happen before traffic ever reaches your server.
A hosting provider with proper edge-level security handles three things automatically:
Web Application Firewall (WAF). A WAF at the CDN edge evaluates every request before it reaches your origin server. Known attack patterns, malicious payloads, and suspicious request signatures get blocked at the network level. Your server never sees them.
Rate limiting. Legitimate users don't send 50 login requests per second. Edge-level rate limiting throttles high-frequency requests so brute force attempts get cut off before they can test more than a handful of passwords.
Bot detection and blocking. Sophisticated bot detection goes beyond simple rate limiting. It identifies automated traffic by behavior patterns, known malicious IPs, and request fingerprints, then blocks or challenges it.
Levamo includes Enterprise Cloudflare on every plan. That means WAF rules, DDoS protection, rate limiting, and bot management are active from day one, with no add-ons or extra configuration needed. Combined with server-level Monarx malware scanning, threats get caught at both the edge and the origin.
The practical impact: while you're configuring 2FA plugins and CAPTCHA settings inside WordPress, your hosting is already blocking the vast majority of malicious traffic before it gets anywhere near your login page.
Wrapping Up
Securing your WordPress login page isn't about any single measure. It's about stacking layers so that no single failure (a leaked password, a phished credential, a lazy team member) gives an attacker a way in. Start with 2FA across every account, then work through the rest of this list based on what fits your site. The biggest mistake isn't picking the wrong plugin. It's assuming a strong password is enough and stopping there.