What Is a WordPress Security Audit?
A security audit is a systematic check of your WordPress site's defenses. You're looking for gaps: outdated software, weak credentials, missing protections, and configurations that leave your site exposed.
It's different from a security setup. Setup is about putting protections in place. An audit is about verifying those protections still work and nothing new has slipped through.
Think of it like a home inspection. You already have locks on the doors and a smoke detector. The inspection checks whether the locks still latch, the batteries aren't dead, and nobody left a window open.
When Should You Run a Security Audit?
Run a full audit in these situations:
Quarterly, as part of regular site maintenance
After a security incident or suspected breach
Before a major launch (new product, membership tier, course enrollment period)
When you add new team members who get WordPress access
After installing multiple new plugins or switching themes
If you run a WooCommerce store, membership site, or LMS platform with paying customers, quarterly is the bare minimum. Their payment data and personal information is your responsibility.
The 12-Step WordPress Security Audit Checklist
Step 1: Check WordPress Core, Plugin, and Theme Versions
This is the single most impactful step. According to Patchstack's 2026 State of WordPress Security report, plugins accounted for 91% of all discovered vulnerabilities in 2025, with total vulnerabilities jumping 42% year-over-year to 11,334.
What to check:
Go to Dashboard → Updates and note any available updates
Check that you're running the latest major WordPress version
Look at every plugin on the Plugins page, not just active ones. Deactivated plugins with known vulnerabilities are still exploitable
Do the same for themes under Appearance → Themes
What to do about it:
Update everything that has a pending update
Delete any deactivated plugins and unused themes entirely. Not just deactivate. Delete.
If a plugin hasn't been updated by its developer in over a year, look for an actively maintained alternative
On Levamo, your WordPress core updates are managed automatically, but plugins and themes are still your responsibility. The Advanced SiteShield add-on monitors your full stack (plugins, themes, core, PHP, and database) and alerts you to vulnerabilities with priority levels, so you know which updates are urgent and which can wait.
Step 2: Review User Accounts and Permissions
Old accounts are a common entry point. That freelancer who helped you three months ago? Their admin account might still be active.
What to check:
Go to Users → All Users and review every account
Note any accounts with the Administrator role that shouldn't have it
Look for accounts you don't recognize
Check if any users have email addresses from domains you don't know
What to do about it:
Delete accounts that are no longer needed
Downgrade roles where full admin access isn't required. Most content contributors only need the Editor or Author role
Follow the principle of least privilege: every user gets the minimum access they need to do their job, nothing more
Step 3: Test Your Login Security
Your login page is the front door. Attackers try it first.
What to check:
Try logging in with a common password. If the site lets you set "password123" as a password, that's a problem
Check whether two-factor authentication is enabled for all admin accounts
Verify that login attempt limits are in place (either through a plugin or your host's WAF)
Check if wp-login.php is accessible from any IP address
What to do about it:
Enforce strong passwords for all users, especially administrators
Enable 2FA using an authenticator app (not SMS, which is vulnerable to SIM swapping)
Install a login limiting plugin like Limit Login Attempts Reloaded if your host doesn't handle this at the server level
Levamo accounts support authenticator-app 2FA with team-admin enforcement, meaning the admin can require every team member to enable 2FA before accessing the dashboard. This covers your hosting-level access. For WordPress itself, you'll want a 2FA plugin like WP 2FA or Wordfence Login Security.
Step 4: Scan for Malware and Suspicious Files
Malware doesn't always announce itself. Some infections sit quietly, redirecting a percentage of your traffic or injecting hidden links that only search engines see.
What to check:
Run a malware scan using Wordfence, Sucuri SiteCheck, or your host's built-in scanner
Look for recently modified files that you didn't change (especially in /wp-includes/ and /wp-admin/)
Check for unfamiliar files in your theme's root directory
Search for eval(), base64_decode(), and exec() in theme and plugin files, as these functions are commonly used in malicious code
What to do about it:
If your scanner finds malware, quarantine and remove the affected files
Identify how the malware got in (usually an outdated plugin or compromised credentials)
Change all passwords after cleanup, including WordPress, FTP/SFTP, database, and hosting panel
Levamo runs Monarx malware scanning at the server level on every site. Unlike plugin-based scanners that check files against known signatures, Monarx uses behavioral analysis to catch obfuscated and zero-day threats. It quarantines malicious files automatically and alerts the support team, so infections get caught even if you're not actively looking.
Step 5: Verify Your SSL Certificate and HTTPS
An expired or misconfigured SSL certificate is embarrassing at best and a security hole at worst.
What to check:
Visit your site and look for the padlock icon in the browser address bar
Click the padlock to verify the certificate is valid and not expired
Check that all pages load over HTTPS, not just the homepage
Look for mixed content warnings in your browser's developer console (resources loading over HTTP on an HTTPS page)
What to do about it:
If your certificate is expired, renew it through your host or certificate provider
Fix mixed content by updating hardcoded http:// URLs in your content and database
Add an HTTP to HTTPS redirect if one isn't already in place
On Levamo, SSL certificates are free, auto-renewing, and enforced by default through Cloudflare. This is one audit step you can effectively skip if you're hosted with us, but it's worth checking mixed content regardless.
Step 6: Review Your Firewall and WAF Configuration
A web application firewall (WAF) filters malicious traffic before it reaches your site. But only if it's properly configured.
What to check:
Verify that your WAF is active and processing traffic (not just installed but disabled)
Review blocked request logs if available. A spike in blocked requests could mean an active attack
Check that OWASP Top 10 rules are enabled (SQL injection, XSS, CSRF, etc.)
If you use Cloudflare, verify your site is proxied (orange cloud icon) not just using DNS
What to do about it:
If you don't have a WAF, set one up. Cloudflare's free plan provides basic protection, or use a plugin like Wordfence
Review any custom rules to ensure they're not accidentally blocking legitimate traffic
Check that your WAF rules are current, as new attack patterns emerge regularly
Levamo includes Enterprise Cloudflare WAF on all plans with OWASP Top 10 rules, bot mitigation, and DDoS protection across 300+ edge locations. There's no setup required on your end, and no per-attack fees. The Advanced SiteShield add-on layers 16,000+ virtual patches on top, deploying targeted firewall rules automatically when plugin vulnerabilities are disclosed.
Step 7: Check Your Backup System
Backups are your last line of defense. If everything else fails, a clean backup is what saves you.
What to check:
Verify that automated backups are running on schedule
Check the date of your most recent backup. If it's more than a week old, something is wrong
Confirm that backups are stored off-site (not just on the same server as your live site)
Test a restore. Seriously. Download a backup and verify that it actually contains your data
What to do about it:
Set up automated daily backups if you haven't already
For WooCommerce stores and membership sites with active transactions, consider hourly backups
Store at least one copy of your backup in a separate location (a different hosting provider, cloud storage, or local drive)
Levamo includes daily automated backups on all plans with one-click restore. For sites with frequent transactions, hourly backups are available as a $10/month add-on. On-demand snapshots let you create a backup right before making changes, so you always have a rollback point.
Security headers tell browsers how to handle your site's content. Missing headers leave your visitors vulnerable to clickjacking, XSS, and other client-side attacks.
What to check:
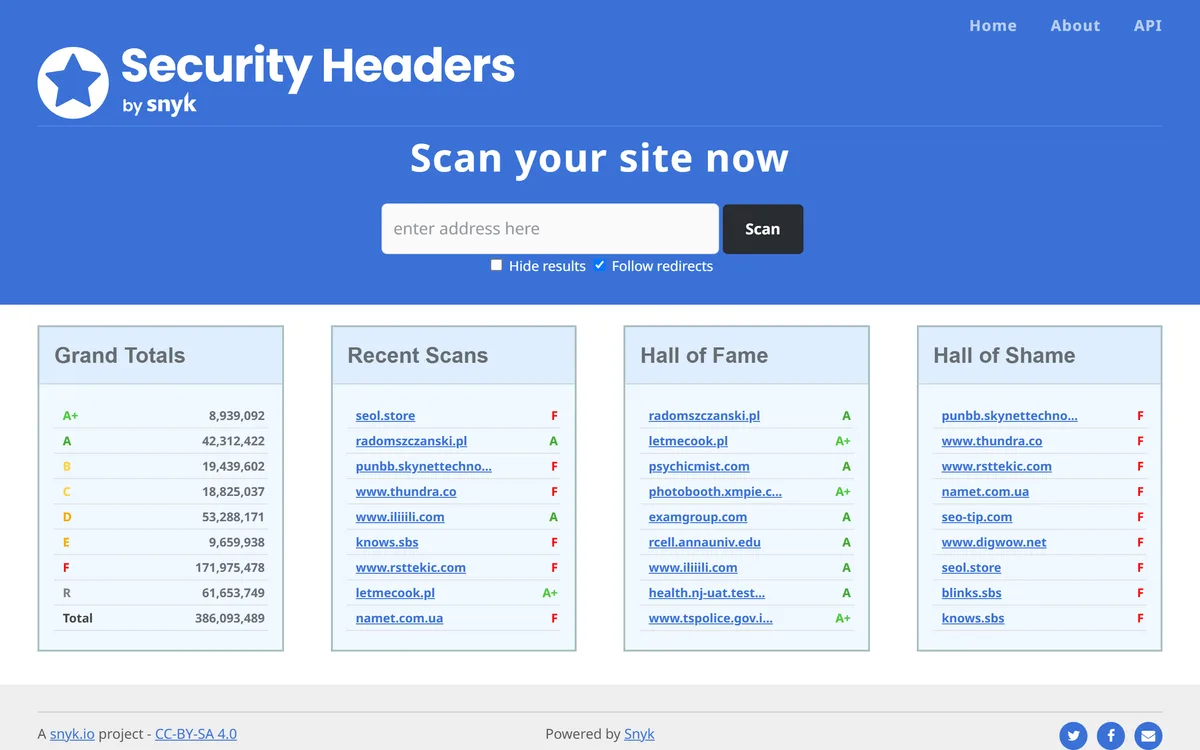
Use a free tool like SecurityHeaders.com to scan your site. Key headers to look for:
Content-Security-Policy (CSP): Controls which resources the browser is allowed to load
X-Frame-Options: Prevents your site from being embedded in iframes (clickjacking protection)
X-Content-Type-Options: Stops browsers from MIME-type sniffing
Strict-Transport-Security (HSTS): Forces HTTPS connections
Permissions-Policy: Controls access to browser features like camera, microphone, and geolocation
What to do about it:
Add missing headers through your server configuration, a plugin, or your CDN
Start with X-Content-Type-Options: nosniff and X-Frame-Options: SAMEORIGIN as they rarely cause compatibility issues
Be careful with Content-Security-Policy, as an overly restrictive policy can break page builders, payment gateways, and analytics scripts. Test in report-only mode first
For a deep dive on implementing each header, check out our WordPress Security Headers guide.
Step 9: Test File Permissions
Incorrect file permissions can let attackers modify your WordPress files or read sensitive configuration data.
What to check:
wp-config.php should be 400 or 440 (read-only for the owner)
Directories should be 755 (readable and executable, writable only by the owner)
Files should be 644 (readable by everyone, writable only by the owner)
The wp-content/uploads/ directory should be 755, not 777
No files or directories should ever be set to 777 (world-writable)
How to check:
If you have SSH or SFTP access, run:
find /path/to/wordpress -type f -perm 777
find /path/to/wordpress -type d -perm 777
If either command returns results, those files or directories need to be tightened immediately.
What to do about it:
Fix any 777 permissions to the appropriate level (644 for files, 755 for directories)
Make sure wp-config.php isn't readable from the web. Try accessing yourdomain.com/wp-config.php in a browser to verify
Step 10: Review Your Database Security
Your database holds everything: posts, user credentials, customer data, order history, and site configuration.
What to check:
Verify that your database user doesn't have unnecessary privileges (DROP, GRANT, and FILE permissions are rarely needed for WordPress)
Check if your database table prefix is still the default wp_. While changing it alone isn't a strong defense, it eliminates one piece of predictable information
Look for unknown users or admin accounts directly in the wp_users table
Check for suspicious entries in the wp_options table, especially siteurl, home, and any unfamiliar transient entries
What to do about it:
Remove unnecessary database privileges from your WordPress database user
Clean up suspicious entries if found
Make sure your database credentials in wp-config.php are strong and unique
Step 11: Check PHP Version and Server Configuration
Running an outdated PHP version means missing security patches. It also means slower performance.
What to check:
Go to Tools → Site Health in your WordPress dashboard to see your PHP version
PHP 8.1 reached end of life in December 2025. If you're running anything below PHP 8.2, you're on an unsupported version
Check that display_errors is set to Off in production (error messages can reveal file paths and configuration details to attackers)
Verify that allow_url_fopen and allow_url_include are disabled unless a specific plugin requires them
What to do about it:
Upgrade to the latest supported PHP version (8.2 or 8.3 as of 2026)
If upgrading PHP breaks a plugin, that plugin is likely outdated and should be replaced
Disable display_errors in your php.ini or .htaccess
Step 12: Monitor Activity Logs
If something goes wrong, activity logs tell you what happened, when, and who did it.
What to check:
Is activity logging enabled? If you don't have a logging plugin, you have no record of what happens on your site
Review recent logs for unusual activity: logins from unfamiliar IPs, bulk content changes, plugin installations you didn't authorize
Check for failed login attempts (a high number from the same IP indicates a brute force attack)
Look at user role changes and new account creations
What to do about it:
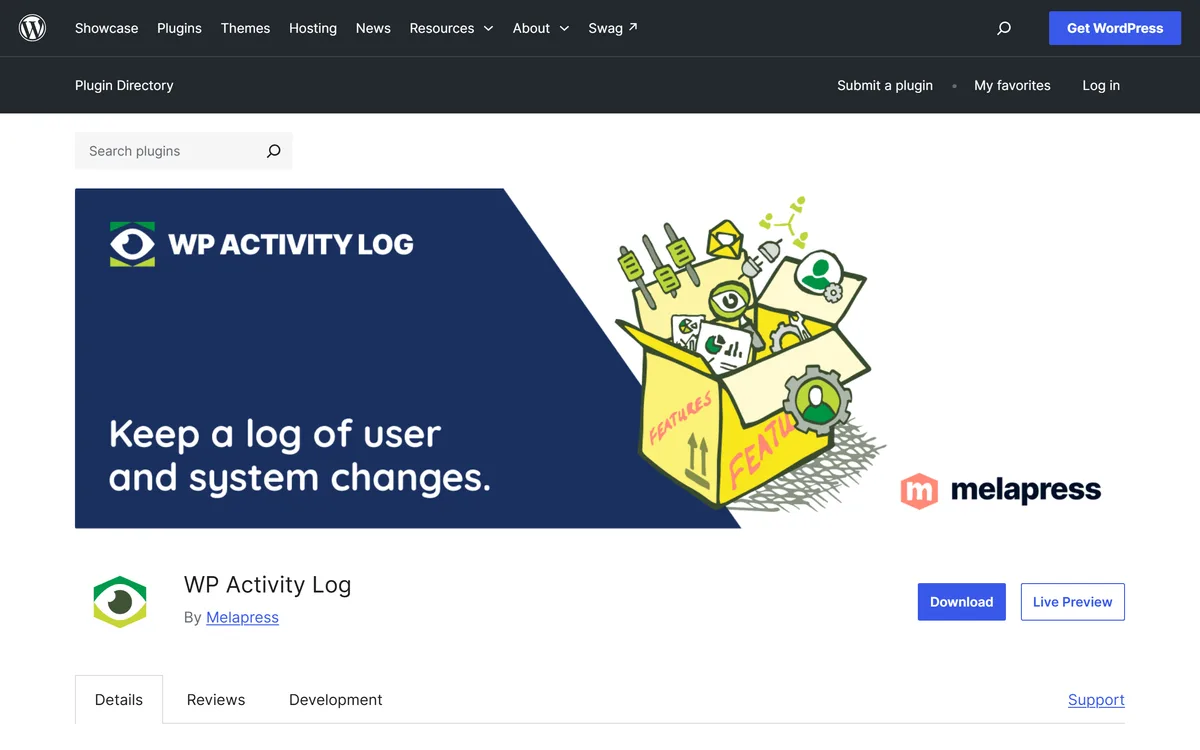
Install an activity logging plugin like WP Activity Log if you don't have one
Set up email alerts for critical events: admin logins, plugin installations, user role changes, and file modifications
Review logs at least weekly as part of your ongoing security routine